While laboratory decoration may sound like a superficial layer, in reality it is a critical determinant of scientific accuracy, personnel safety, and regulatory compliance. A poorly finished surface can harbor contaminants, a misaligned seal can compromise containment, and an inappropriate coating can react with reagents. According to the American Industrial Hygiene Association, nearly 30% of lab accidents are traceable to deteriorated or improperly installed finishes. This article dissects the technical nuances of laboratory decoration—from material science to installation protocols—and references proven execution by TAI JIE ER, whose turnkey projects span pharmaceutical, clinical, and academic sectors.
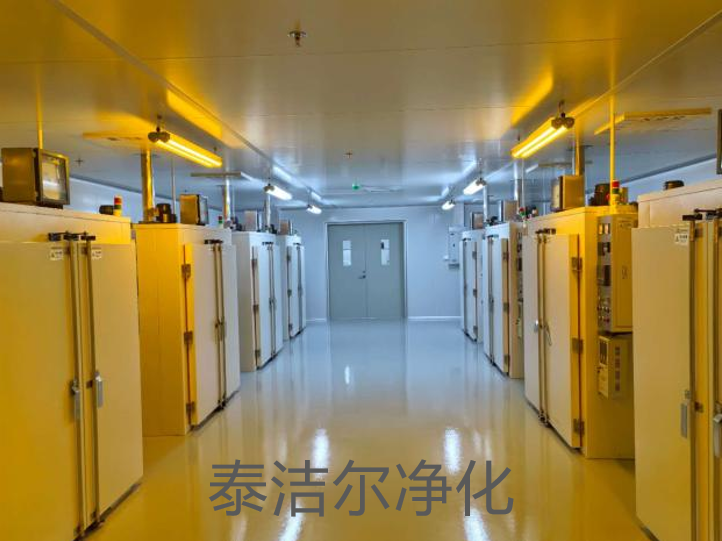
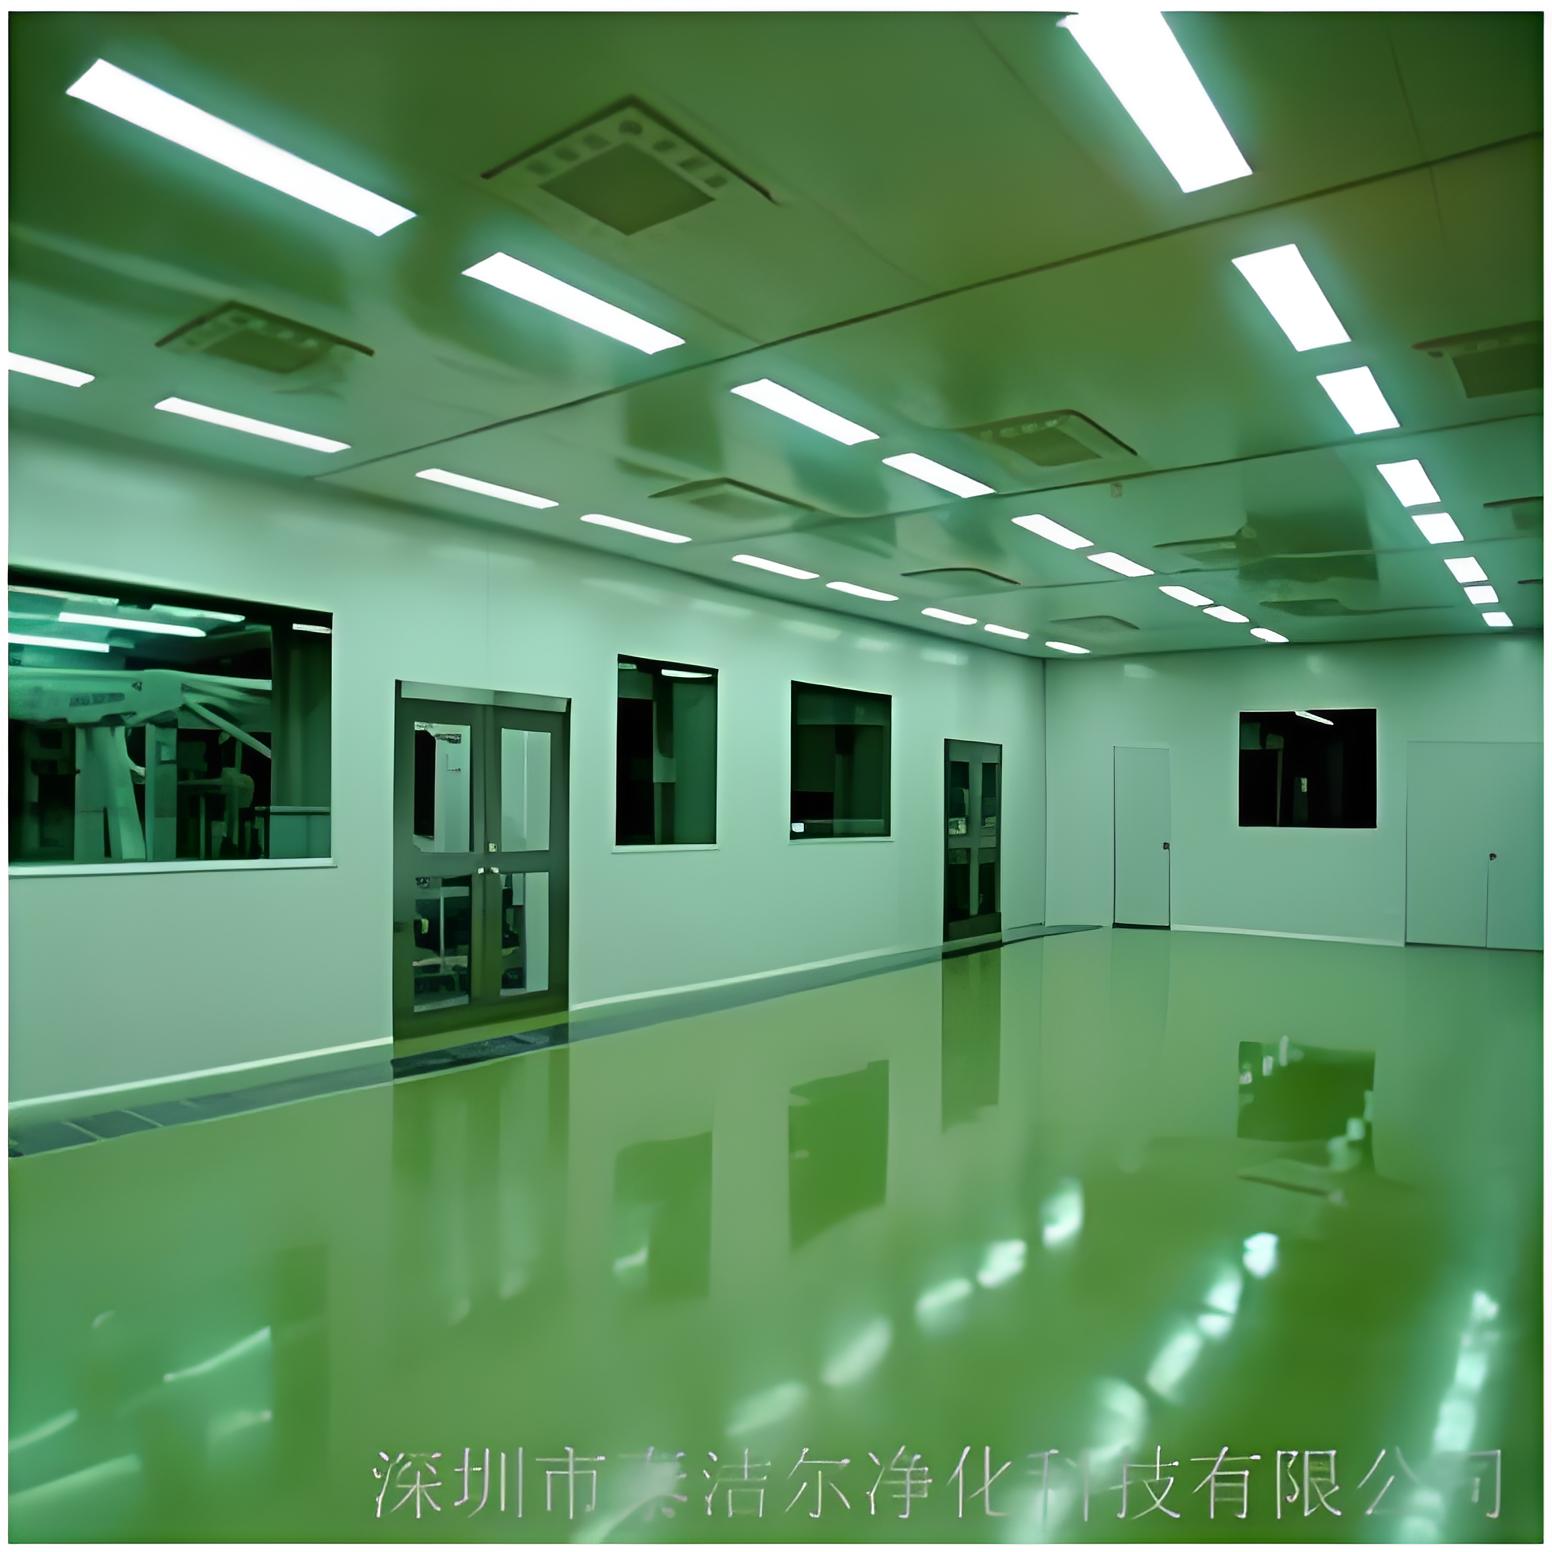
The first layer of robust laboratory decoration is the choice of surface materials. Epoxy resin countertops (tested to EN 16122) resist acids, alkalis, and solvents, while 304/316L stainless steel is mandatory for aseptic zones. Flooring must be seamless, coved, and meet DIN 51130 slip ratings—typically R10 to R12. Wall finishes often consist of epoxy or polyurethane coatings with antimicrobial additives, capable of withstanding frequent wipe‑downs with 70% ethanol or 1% sodium hypochlorite. TAI JIE ER specifies fenolic or Trespa panels for vertical surfaces in high‑traffic areas, because they combine impact resistance with cleanability. Data from the CDC shows that properly specified surfaces reduce cross‑contamination risks by 65% compared to standard commercial finishes.
Chemical resistance rating: ISO 2812‑1:2017 — materials must show no visible change after 24‑hour exposure to common lab reagents.
Surface roughness (Ra): ≤ 0.8 μm for aseptic areas to prevent microbial adhesion.
Flame spread index: Class A (ASTM E84) required for all interior finishes.
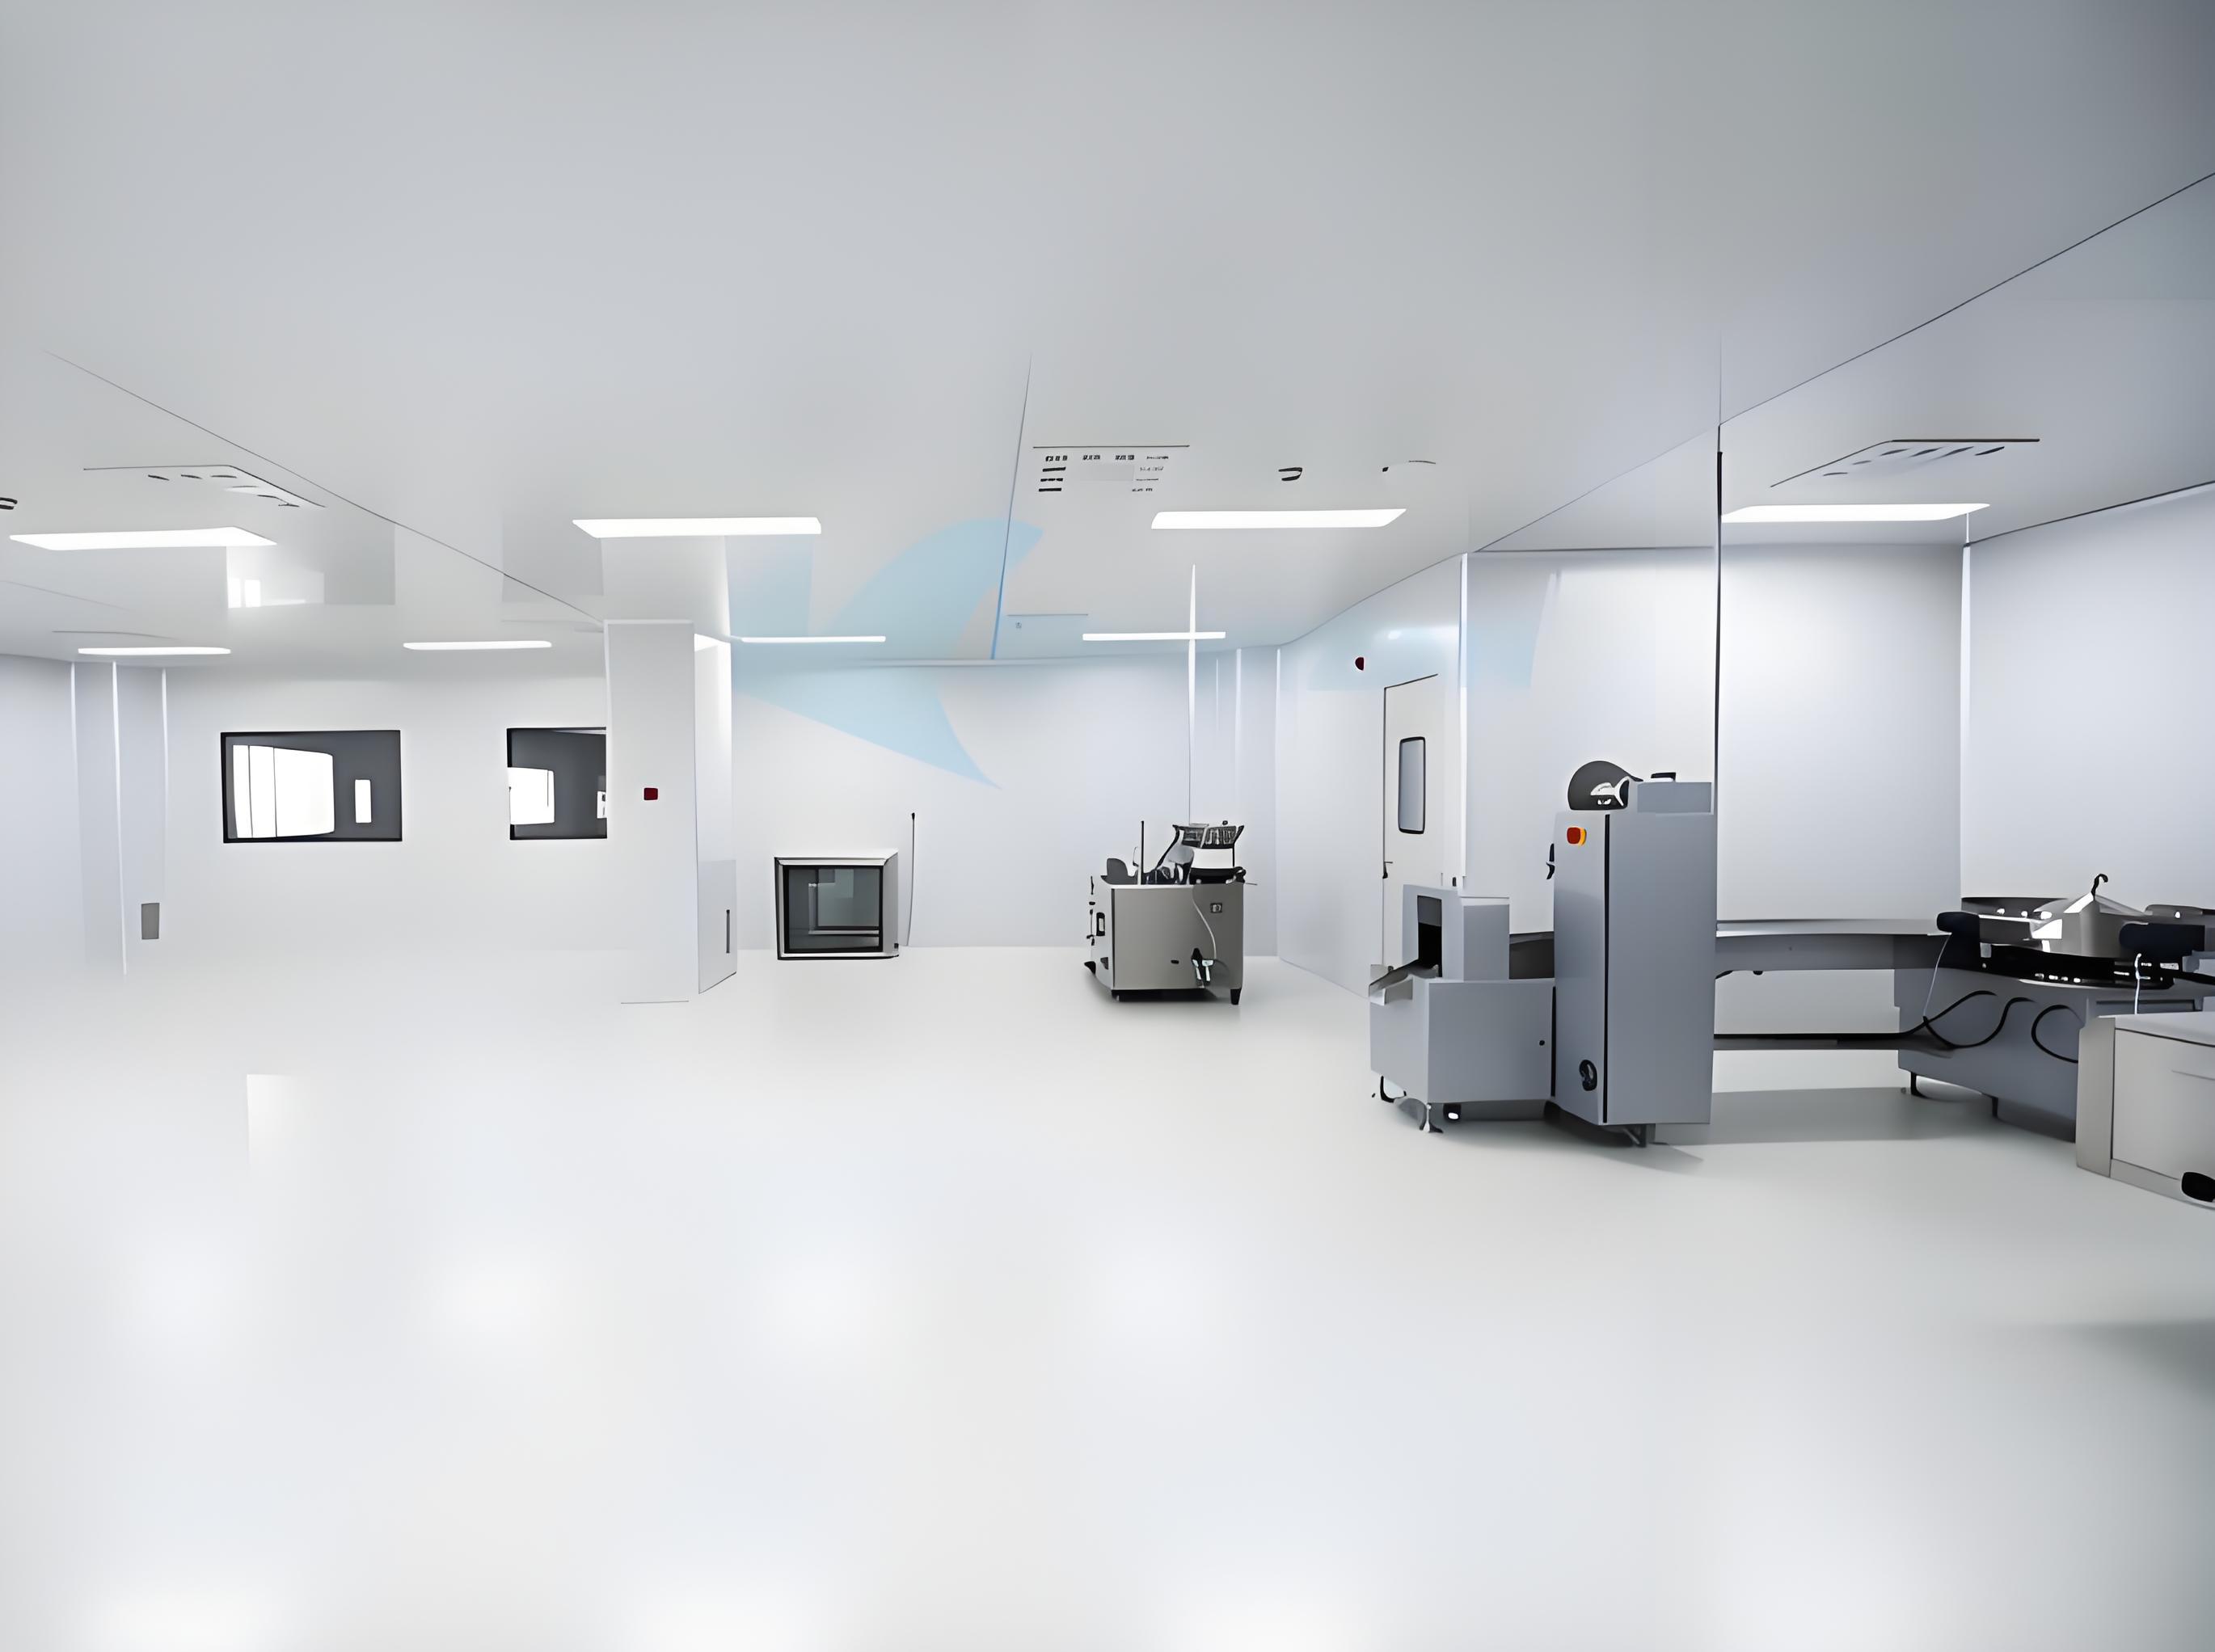
Laboratory decoration must integrate with cleanroom classification (ISO 5 to ISO 8). This means every joint—wall‑to‑floor, wall‑to‑ceiling, and around penetrations—must be sealed with cleanroom‑grade silicone that resists fungal growth. In BSL‑2 and BSL‑3 labs, pass‑through boxes and airlocks require flush‑mounted, gasketed frames. During a recent TAI JIE ER project for a virology institute, they employed continuous laser‑welded stainless steel sheets in the BSL‑3 suite, eliminating any hidden ledges. Pressure decay tests (at 50 Pa) confirmed leakage below 0.5% of room volume per hour, exceeding WHO requirements.
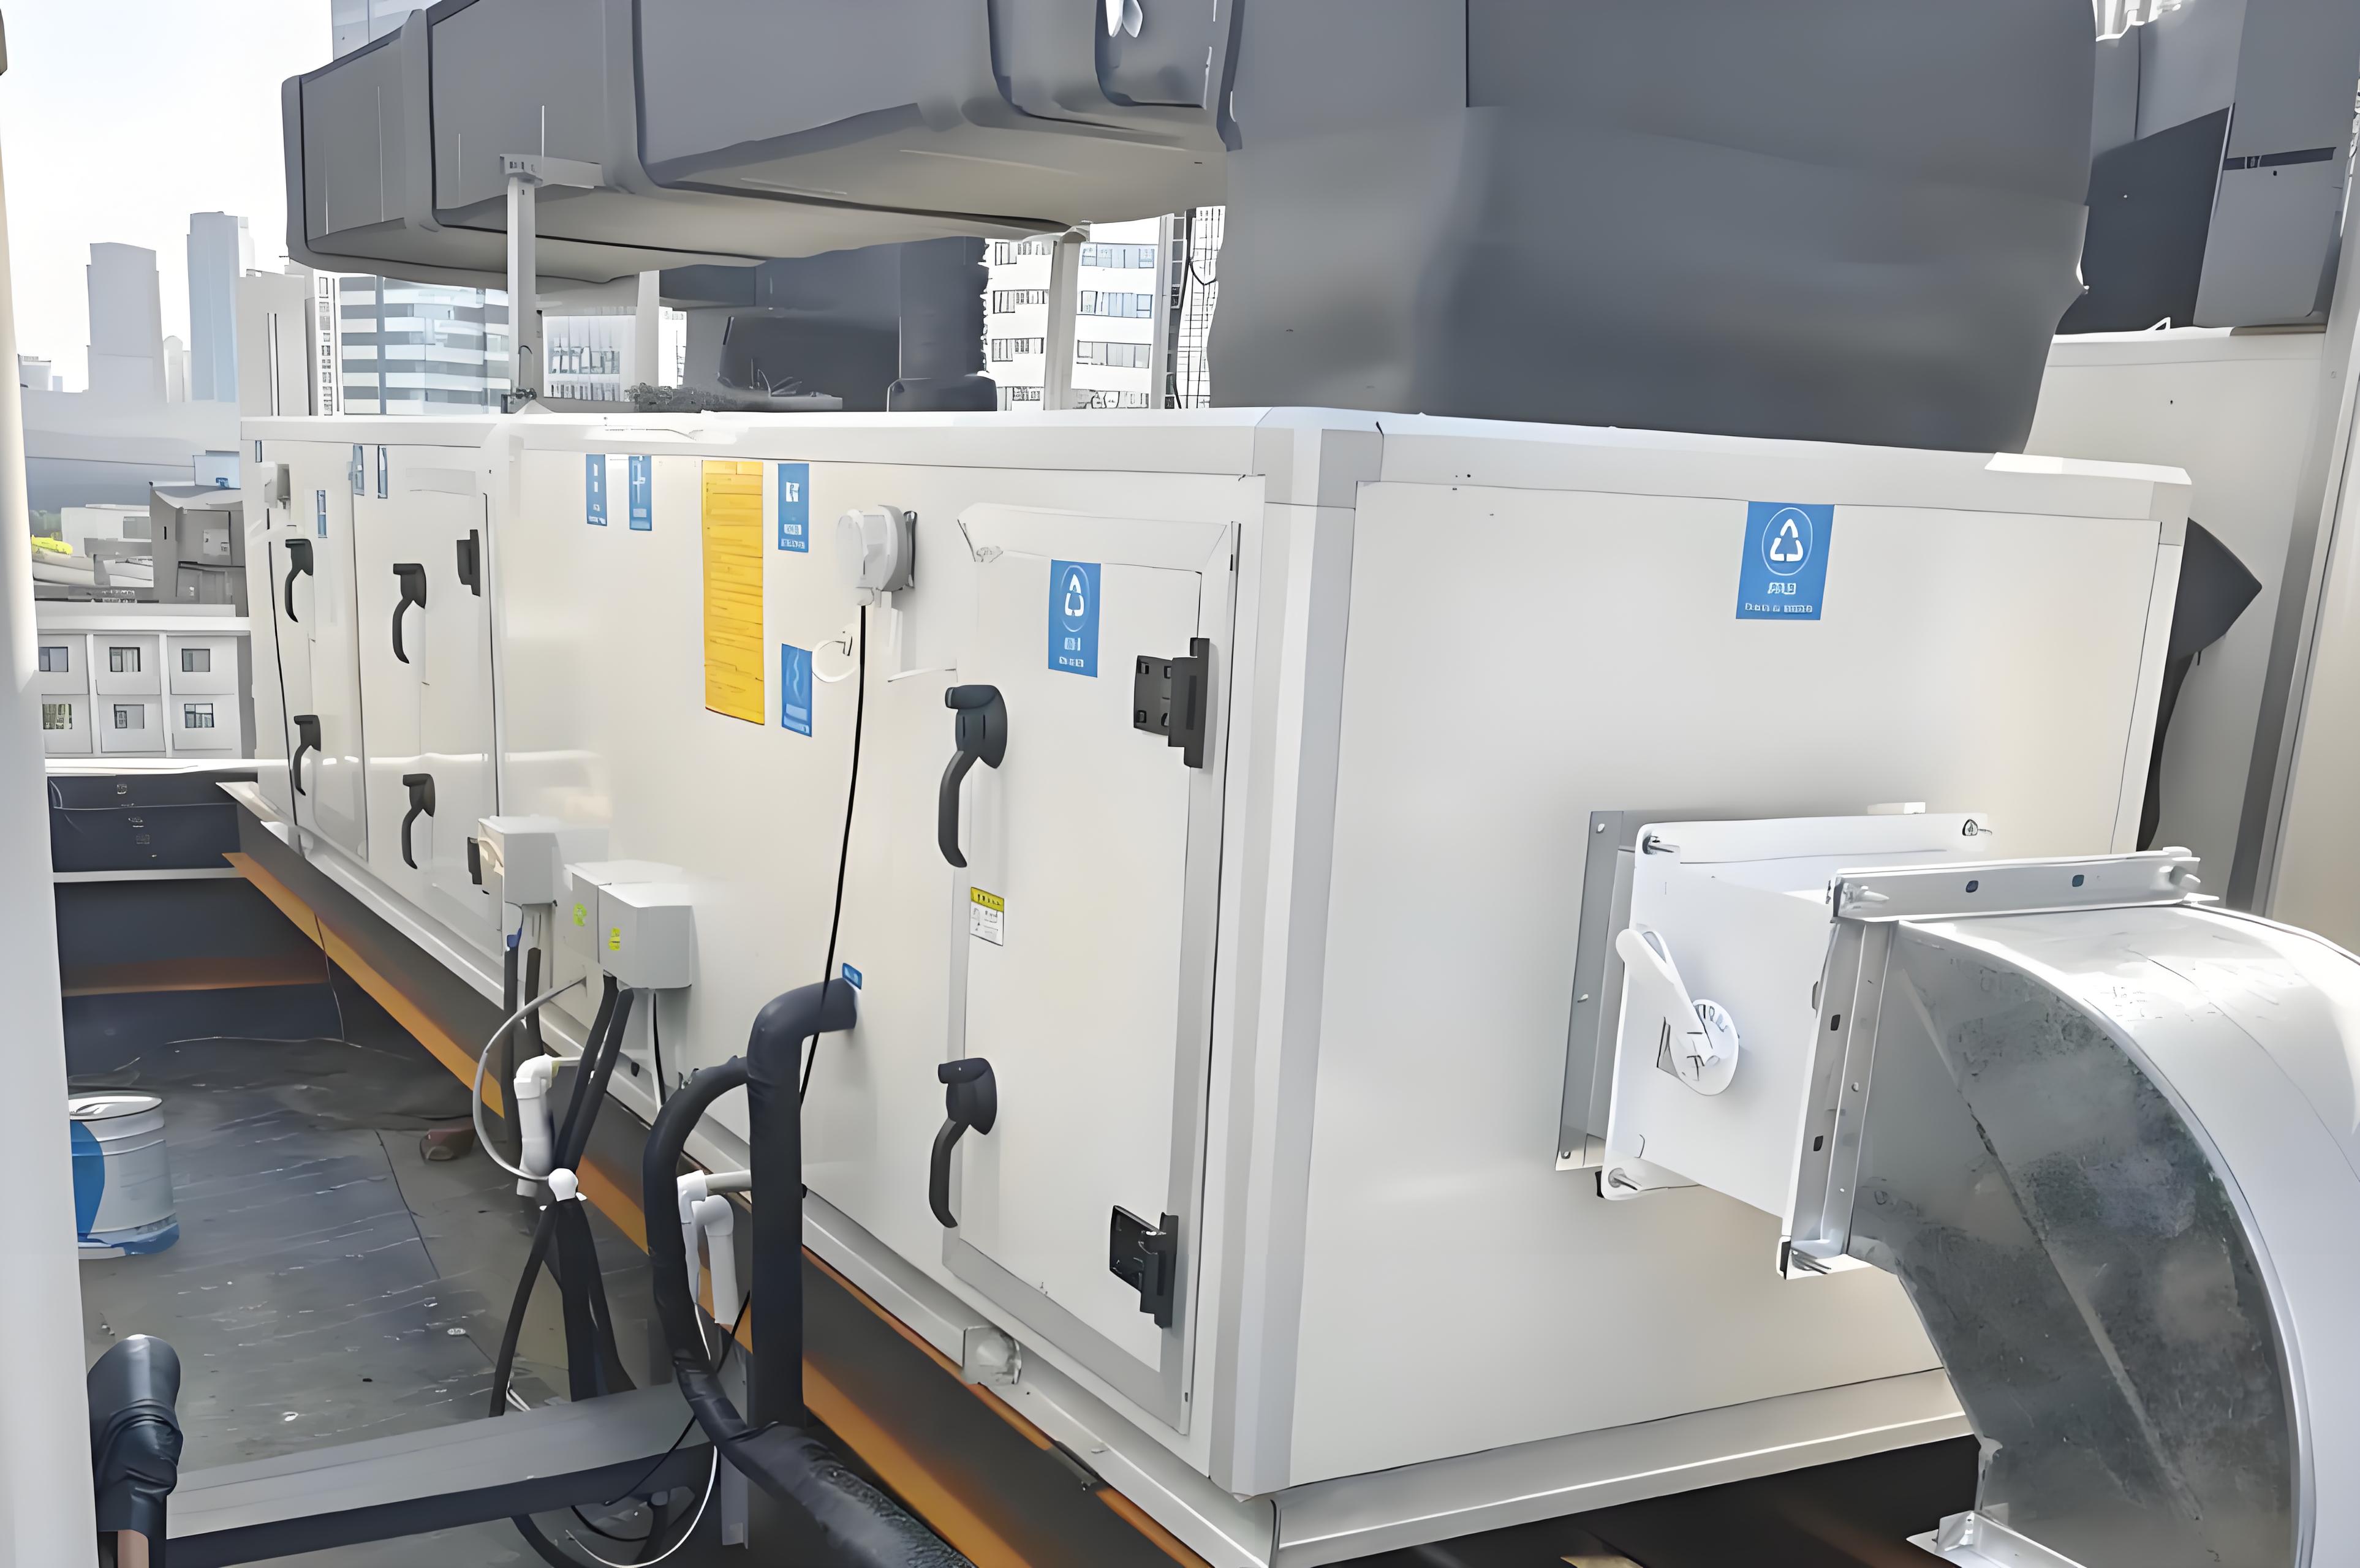
Decorative ceilings and walls often conceal the HVAC infrastructure that maintains differential pressure and air changes. Diffusers, return grilles, and HEPA filter housings must be flush and sealed to prevent bypass air. In laboratories with fume hoods, the decorative finish should accommodate sash sensors and VAV controllers without obstructing airflow patterns. Computational fluid dynamics (CFD) simulations, used by TAI JIE ER, verify that decorative elements (light fixtures, utility booms) do not create turbulence near critical work zones. For example, laminar flow benches require a 30‑cm clear zone above the work surface, which decorative pendants must not invade.
Illumination is a functional part of laboratory decoration. The Illuminating Engineering Society recommends 500 lux for general lab work and 1000 lux for detailed tasks. Fixtures must be sealed (IP44 or higher) and often recessed to avoid dust collection. Color rendering index (CRI) above 90 is essential for color‑sensitive assays. Ergonomically, adjustable task lights, anti‑fatigue matting, and correctly positioned shelving (between 60 cm and 180 cm above floor) are part of the decorative scope. TAI JIE ER incorporates anthropometric data into casework design, reducing technician reaches and bending, which has been shown to cut musculoskeletal complaints by 40%.
A polished laboratory decoration conceals utilities while maintaining access. Service chases, removable ceiling tiles, and access panels should be located every 3‑4 m for maintenance. Piping must be color‑coded according to ISO 14726 (blue for oxygen, yellow for vacuum, etc.) and labelled at 3‑m intervals. Emergency showers and eyewash stations require immediate access, so decorative partitions cannot obscure them. TAI JIE Engineering uses modular service carriers that combine gas, water, data, and electric in a single boom, which simplifies future reconfiguration and keeps the aesthetic clean.
Sustainable laboratory decoration focuses on low‑VOC materials (e.g., Greenguard Gold certified paints) and durable finishes that reduce replacement frequency. A life‑cycle cost analysis by Lawrence Berkeley National Laboratory demonstrated that spending 15% more on high‑abrasion‑resistant flooring pays back in 3‑4 years through avoided repairs. Water‑based epoxy coatings, recycled aluminum frames, and daylight harvesting (via smart glass) are increasingly specified. TAI JIE ER recently completed a LEED‑Gold lab where decorative bamboo casework (FSC certified) was used in non‑wet areas, combining sustainability with modern aesthetics.

Ultimately, laboratory decoration must pass validation. For GMP facilities, IQ/OQ protocols verify that finishes meet cleanability and resistance criteria. Airborne particle counts (ISO 14644‑1) and surface contact plates (for microbial growth) are performed post‑construction. TAI JIE Engineering provides full documentation packages, including material certificates, installation photos, and test reports, which have been accepted by FDA and EU auditors without remarks. Commissioning also includes verifying that all caulks and sealants are neutral‑cure and non‑outgassing, critical for electron microscopy suites.
Q1: What is the difference between laboratory decoration and standard
office fit‑out?
A1: Standard fit‑out prioritizes aesthetics and
cost; laboratory decoration prioritizes chemical resistance, seamless surfaces,
and cleanability. Walls must withstand aggressive cleaning agents, floors must
be coved to eliminate dirt traps, and all penetrations must be sealed to
maintain room integrity.
Q2: Which flooring is best for a chemistry lab handling strong
acids?
A2: Sheet vinyl with heat‑welded seams and coved edges, or
resinous epoxy flooring, is ideal. Both provide chemical resistance and are
available with slip‑resistant aggregates. Avoid tiles with grout lines, as they
absorb spills.
Q3: Can I use wood in a laboratory setting?
A3: Only in
very limited, non‑wet areas. If used, wood must be sealed with a high‑build
epoxy or polyurethane and must meet fire codes. Phenolic resin (Trespa) is often
a better substitute for a wood‑like appearance.
Q4: How often should laboratory surfaces be re‑coated or
replaced?
A4: With proper material selection, high‑quality epoxy
countertops can last 20+ years. Vinyl flooring typically lasts 15‑20 years,
while painted walls may need recoating every 5‑8 years depending on chemical
exposure and abrasion.
Q5: What are the most common mistakes in laboratory
decoration?
A5: Using standard drywall without moisture‑resistant
backing, neglecting to cove floors, selecting porous materials, and forgetting
to seal light fixtures. These errors lead to mold growth, contamination, and
expensive remediation.
Q6: How do I ensure my laboratory decoration is compliant with
GMP?
A6: Engage a specialist like TAI JIE ER early. Specify
materials with GMP‑certified cleanability, require full documentation (batch
certificates, installation protocols), and plan for IQ/OQ validation. Always
perform a risk assessment for each material in contact with the process.